Resizing an image sounds simple, but doing it wrong can result in a blurry, distorted, or unnecessarily large file. Whether you need to resize a photo for Instagram, reduce file size for email, or meet a specific pixel requirement for a website or application, this guide will show you exactly how to get perfect results every time.
When Do You Need to Resize an Image?
- Upload limits — most platforms have a maximum file size (e.g., email attachments)
- Social media — each platform has recommended dimensions
- Website performance — oversized images slow down your website
- Print requirements — specific print sizes require exact pixel dimensions
- Profile photos — specific square sizes required (400×400px, 800×800px, etc.)
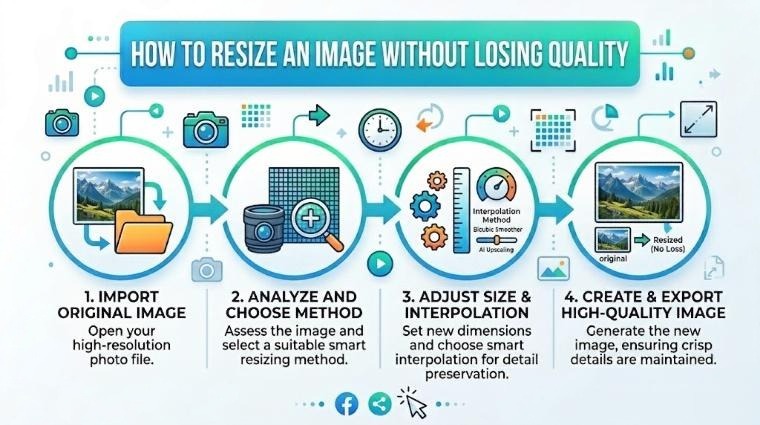
How to Resize an Image on iPixLab (Free)
Standard Image Sizes for Popular Platforms
| Platform / Use | Recommended Size | Format |
|---|---|---|
| Instagram Post | 1080 × 1080px | JPG |
| Instagram Story | 1080 × 1920px | JPG |
| Facebook Post | 1200 × 630px | JPG |
| YouTube Thumbnail | 1280 × 720px | JPG |
| Twitter / X Header | 1500 × 500px | JPG |
| Website Blog Image | 1200 × 630px | WEBP |
| LinkedIn Profile Photo | 400 × 400px | JPG |
The Golden Rule: Always Resize Down, Not Up
When you make an image smaller, quality is preserved. When you make an image larger (upscale), you are stretching pixels and the image becomes blurry. This is the most common mistake people make when resizing images.
Resize vs Compress — What's the Difference?
Resizing changes the pixel dimensions of an image (e.g., from 4000×3000px to 1200×900px). This automatically reduces file size too.
Compressing reduces file size without changing dimensions, by reducing image quality slightly. For the smallest files with best quality, you should resize first, then compress.
How to Resize an Image on Phone
- iPhone: Visit ipixlab.com/resize/ in Safari → upload from Photos — works perfectly
- Android: Same — open in Chrome and upload from Gallery
- No app to install — iPixLab works as a PWA, so you can add it to your home screen for instant access
"Resizing to the correct dimensions before uploading is one of the simplest and most impactful things you can do for website performance."
Quick Checklist
- ✅ Always resize to the exact display size — no larger
- ✅ Lock aspect ratio to prevent stretching
- ✅ Resize first, then compress for the smallest file size
- ✅ Use WEBP format for web images after resizing
- ✅ Use AI Upscale if you need to enlarge a photo